Clip Properties Walkthrough
This is an example of the effect of each screen appearance property, in the effective order of application:
We import a media file, and place it on the timeline. By default Scale is set to Best Fit (as big as possible without cropping or changing the aspect ratio) and Gravity is set to Centre:
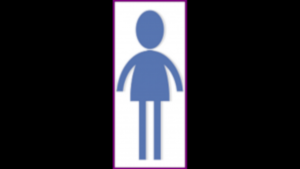
We set Scale X and Scale Y to 0.7, so the clip becomes 70% of its Best Fit size:

We set Gravity to Top Left; the newly scaled top and left edges of the clip align with the screen top and left edges:
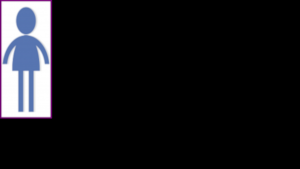
We set Location X to 0.3 and Location Y to 0.05; the clip moves 30% of screen width and 5% of screen height away from the top corner:

We now recognise the imaginary outline box of the clip at this point, shown as a dashed black line, with a blue dot (the origin) at its centre:
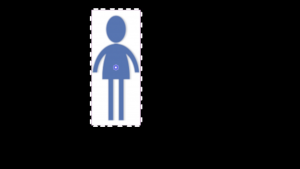
We set Crop X to 0.2; the clip moves backwards on the x axis by 20% of the width of the outline box. Anything now outside the outline box is cropped:
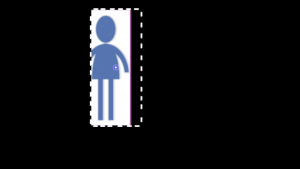
We set Crop Y to 0.1; the clip moves backwards on the y axis by 10% of the height of the outline box. Anything now outside the outline box is cropped:
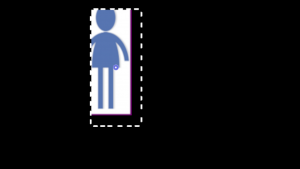
We set Crop Height to 0.5, which allows just the first 50% of the clip height to show (measured from the top), and crops the excess. Crop Width is also applied at this point, although we will leave it unchanged here.
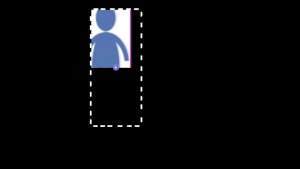
We set Origin X to 0 and Origin Y to 0.25. We show this origin by the blue circle with the white dot inside - note it has now moved. The outline of the outline box has now done its job, and is not used further.

We set Shear X to 1.0. The left and right sides of the clip are sheared 45 degrees, with the bottom edge moving in the x direction. The horizontal line through the origin remains unchanged:

We set Shear Y to -0.2. The top and bottom sides of the clip shear to 20% of 45 degrees (that is, 9 degrees) - with the right edge moving backwards along the y direction (because the value is negative). The vertical line through the origin remains unchanged:
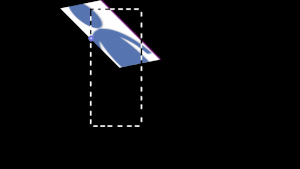
Finally we set Rotation to 180 (degrees), which is a half turn. The clip does not rotate about its own centre; it rotates about the origin, shown by the blue dot:

Removing the imaginary outline box, the clip now looks like this:

This completes the walkthrough of clip properties affecting appearance on the screen. It may seem complex, but remeber that for most purposes you can simply play with the settings and achieve what you want.